|
I’ve been using mousses
for two years now and the most common worry that people have is fitting
them. I must admit that without following a few basic guidelines it
can be a bit of an issue getting it right. Mind you getting the old
tyre off (with mousse in) is even worse! However - having learnt from
my mistakes (sorry Phil & Tony), I fitted a new tyre and mousse
at the weekend and it was so much easier when you know what you are
doing – more or less. ok since i wrote this i has been pointed
out that the bead breaker has some tyre lever holders build into it!
doh!
Now there are
bound to be guys that don’t use a bead breakers and I was one
of them, but they can be had for £50 off ebay now (I checked again
today –from Germany) so it makes sense to get one. They do make
it so much easier when trying to remove the tyre (once it has a mousse
fitted) so it’s well worth the money, and they last a lifetime.
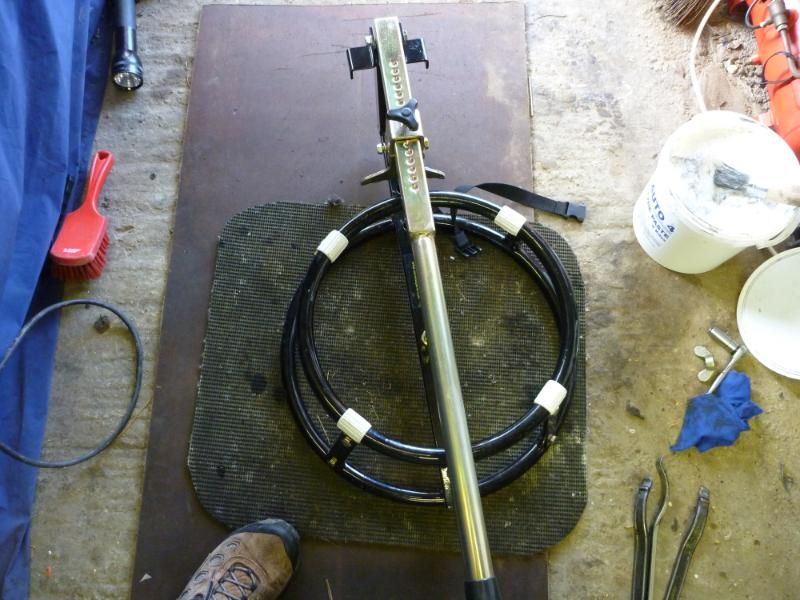
What you need:
- Bread Breaker - optional but well worth
it.
- Three tyre lever –
long
- Bead buddy
- Clamps of some sort
- Tyre paste
Before you start - So first
of all I placed the new tyre in-doors next to the warm radiator, as
it was only a few degrees outside and having the heat soften the tyre
would make a world of difference later.
Tyre Removal
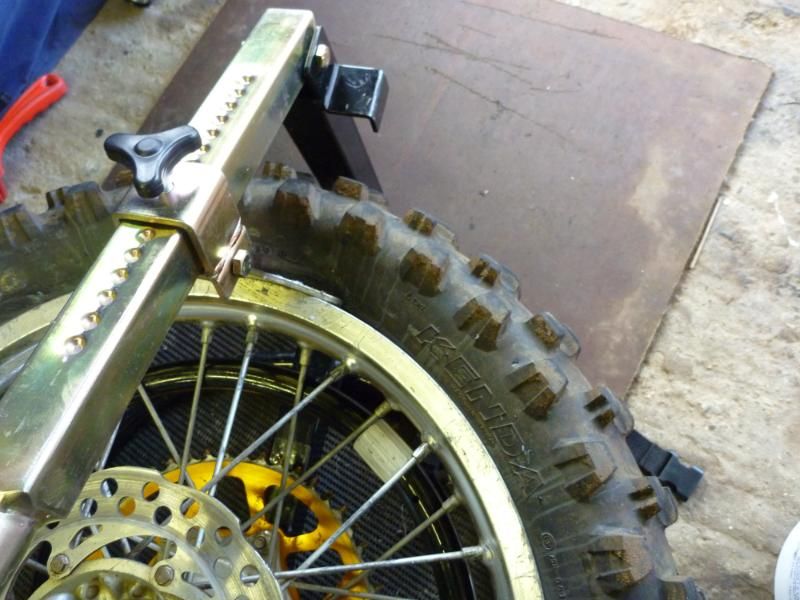
Figure 1.0
I start by using the bead breaker to push the tyre away from the rim
to ‘break the bead’
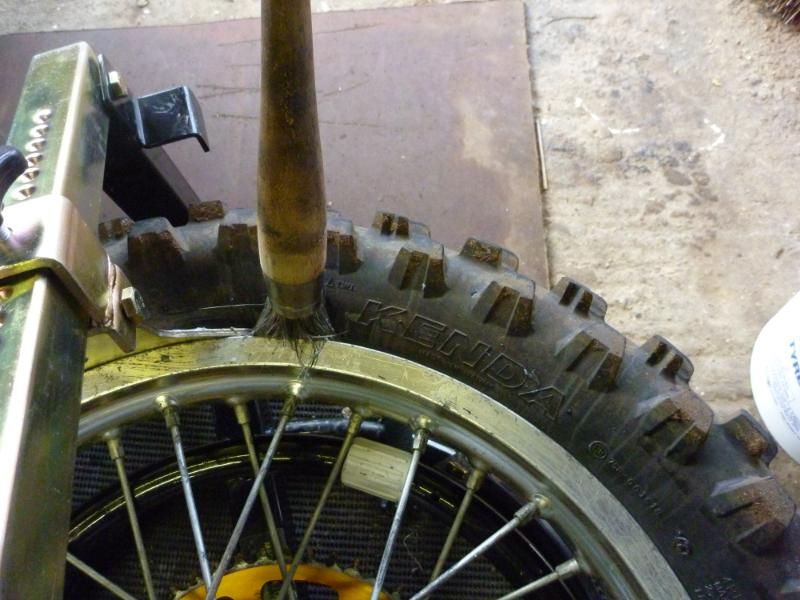
Figure 1.1
At the same time I brush on some tyre paste, to help the tyre slip off
a bit easier when you start to lever it off.
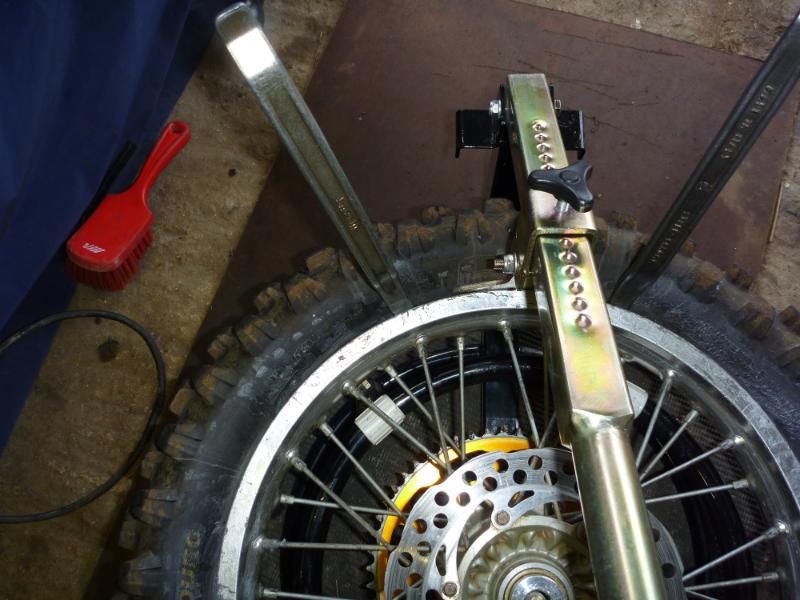
Figure 1.2
Once both sides have been ‘broken’ and pasted, you can use
the bead breaker to push the tyre down into the rim so that you can
get a tyre lever under the tyre bead. As this mousse was two years old
and the tyre was soft there was no need to clamp the tyre to create
some slack (see later).
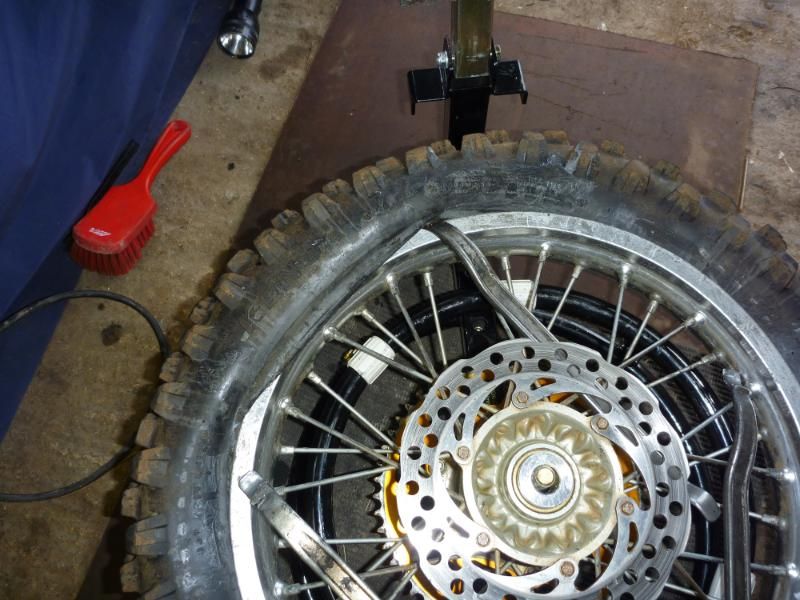
Figure 1.3
Having got two tyre levers in place you can now see I’ve levered
the tyre off the rim. Once you’ve got it this far it’s just
a question of following it around until it's all off.
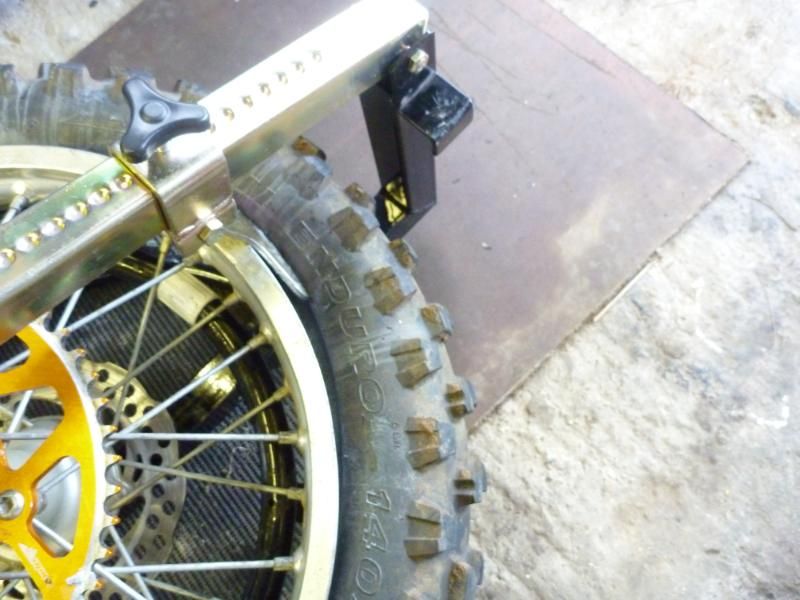
Figure 1.4
now flip the tyre over and use the breaker to push the tyre down so
that it drops down into the centre of the rim.
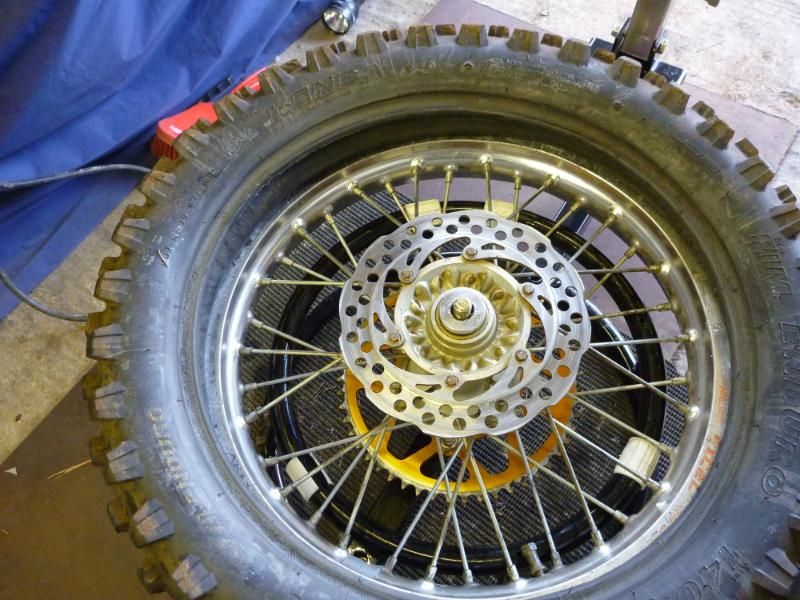
Figure 1.5
now you can see the tyre sitting proud of the rim .......
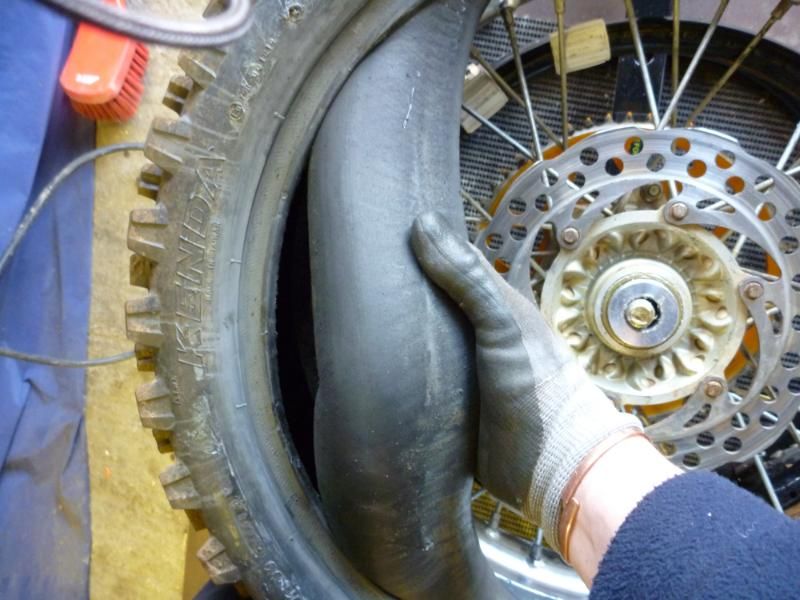
Figure 1.6
with enough space to reach in and grab the mousse
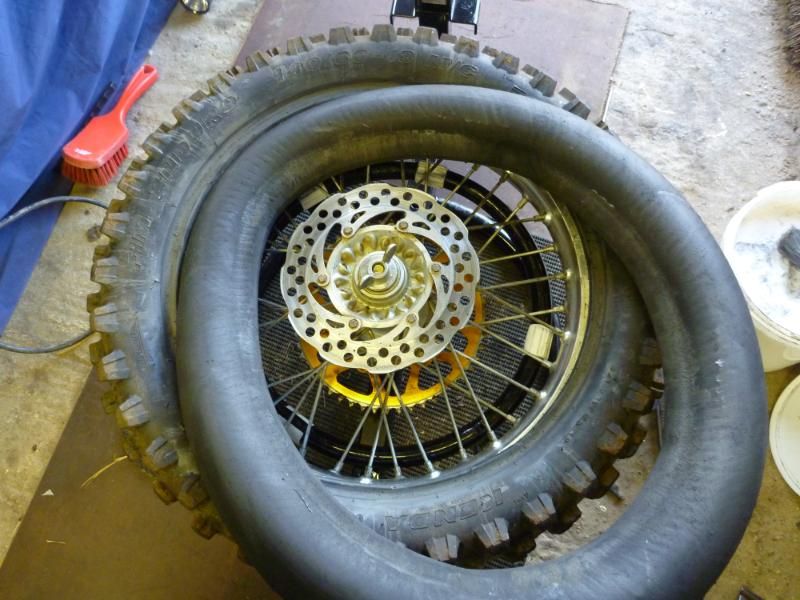
Figure 1.7
The old mousse is now fully out.
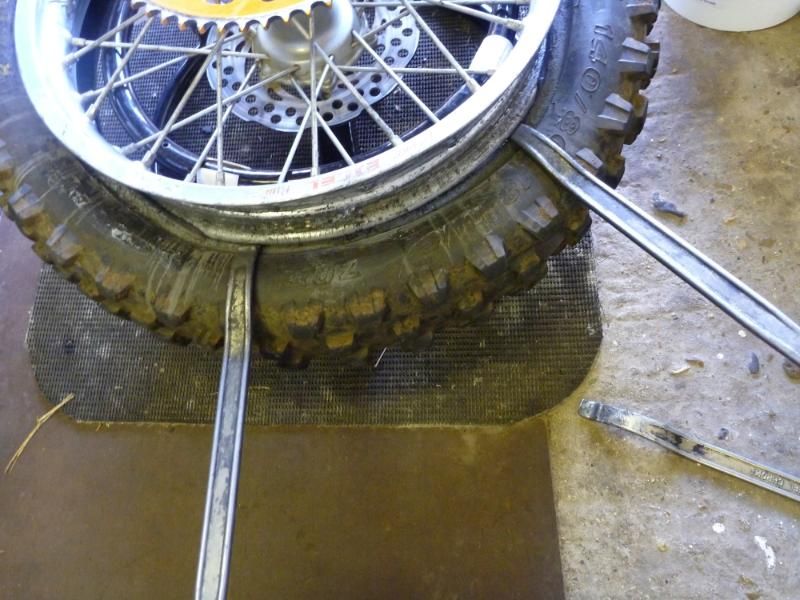
Figure 1.8
Use the levers once again to get the second bead off the rim.
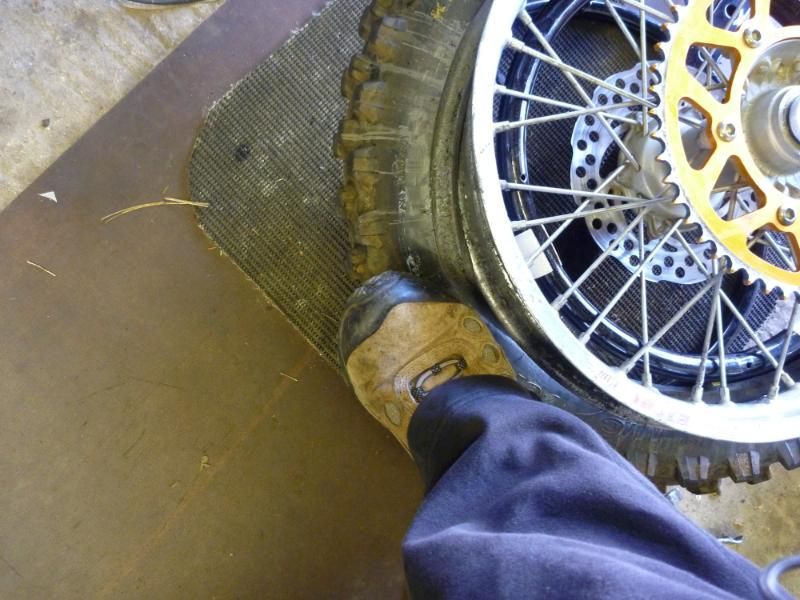
Figure 1.9
A bit of foot action gets the rest off. Job done?……no….now
the cleaning starts!
Cleaning The Rim
and Tyre
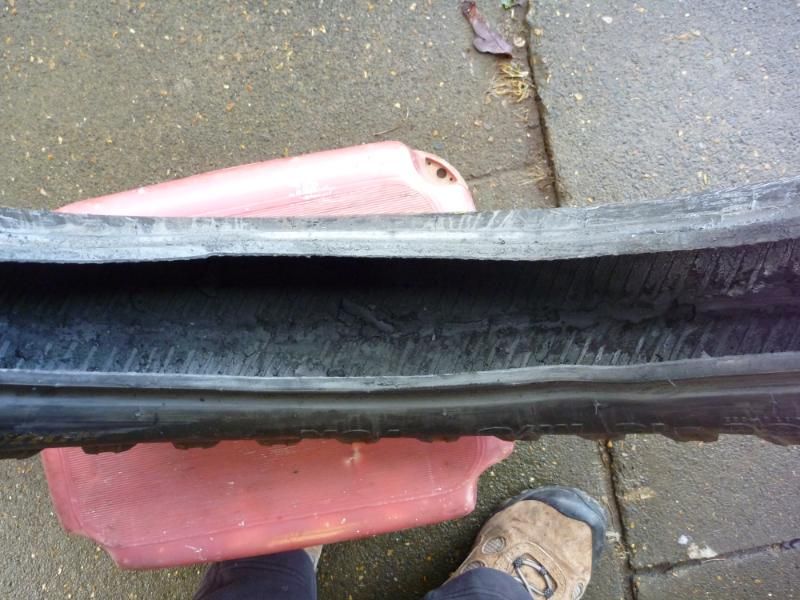
Figure 2.0
Check out the debris inside the old tyre!
General dirt and crap mixes with the mousse lube and worn off mousse,
to make a grinding paste.
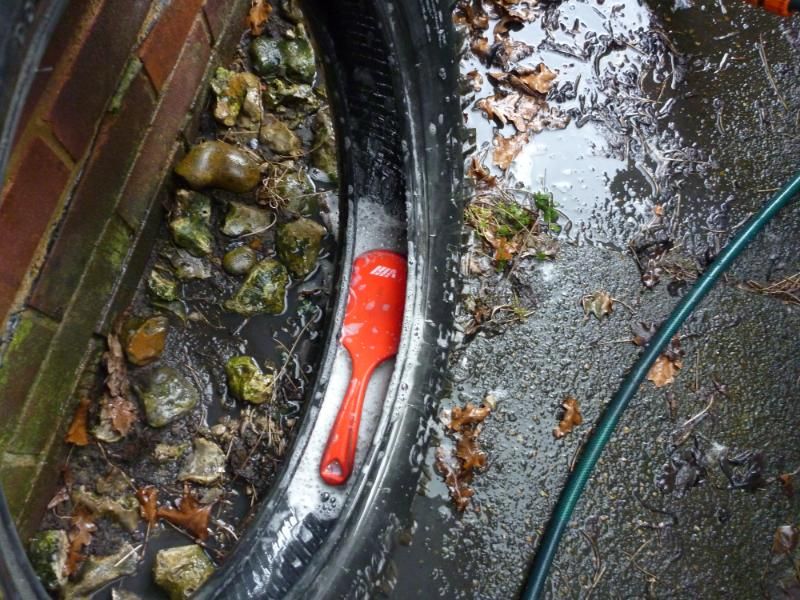
Figure 2.1
A bit of a brush up and some water soon gets it clean again.
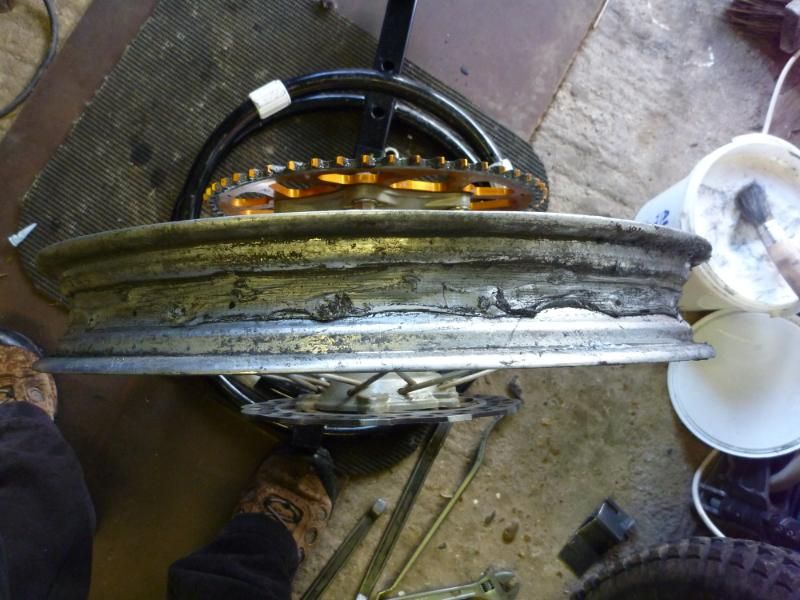
Figure 2.2
The old gaffer tape on the rim. Doesn’t look too bad and could
be used again – right?
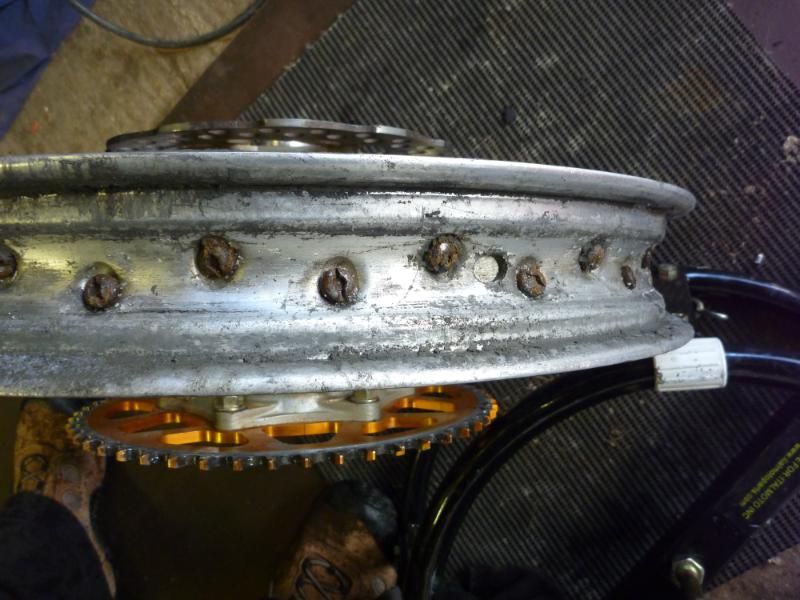
Figure 2.3
Wrong! Take it off and check out the crap/rust below – yuck!
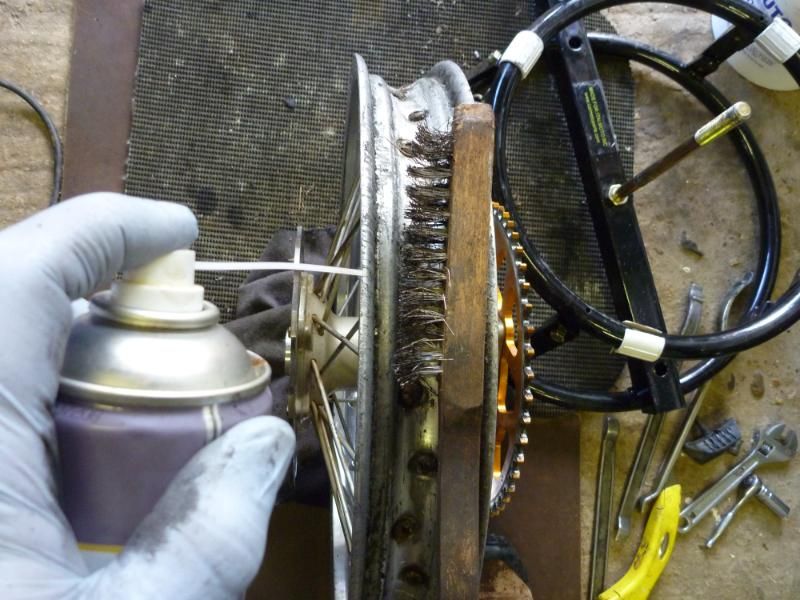
Figure 2.4
A good spray of your favourite release oil and a wire brush soon has
most of the nasty stuff cleaned off.
This was done the last time I fitted the tyre and has since only been
used a few times, so it’s not like it been in there years.
This is why you should do
your own tyres. Can you imagine the local bike shop tyre monkey or ‘kwick
fit’ guys cleaning up the rim?
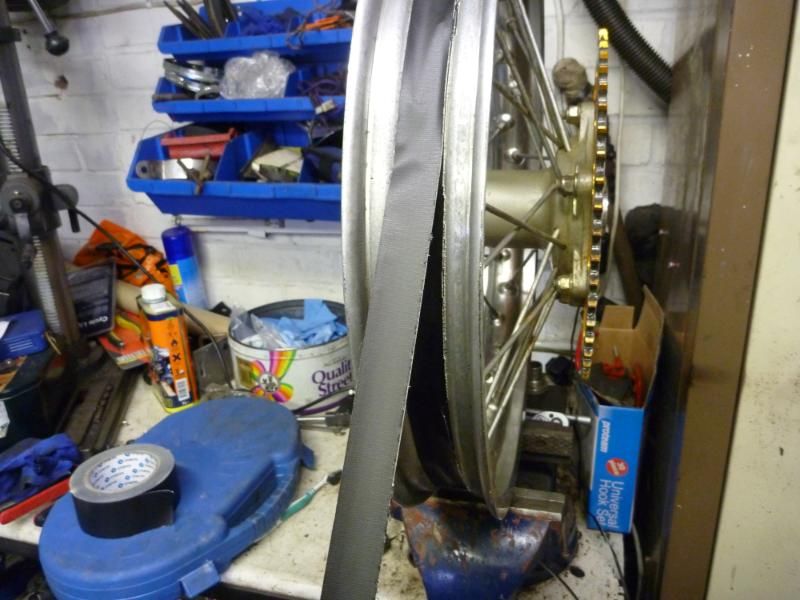
Figure 2.5
Next up is coating the rim with tape again. Even with the proper rubber
‘rim tape’ I always use some gaffer tape as well.
I put a couple of layers on. Note that I cut it in half so that the
overhang doesn’t interfere with the tyre.
Today's Fitment
- Golden Tyres & Mousse
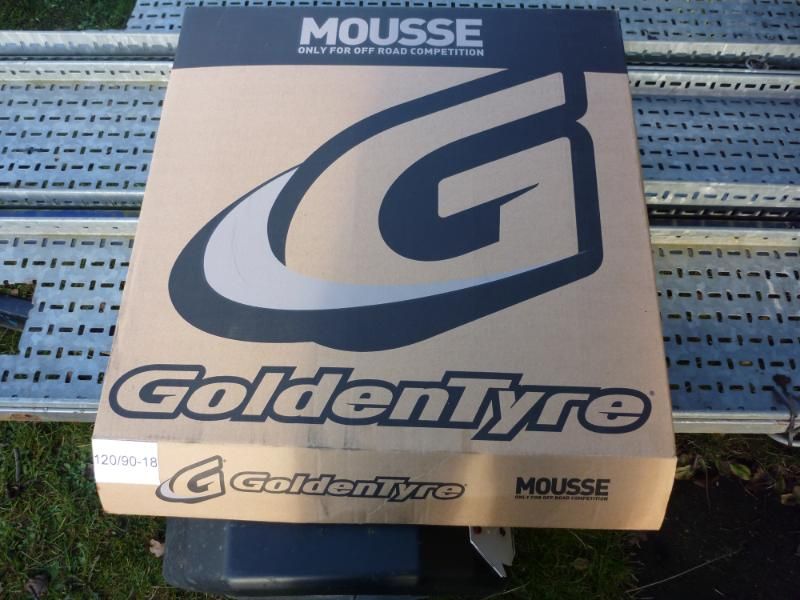
Figure 3.0
Next up was the new mousse and tyre. This time I’m using Golden
Tyres products. They are doing some good deals on mousses at the moment
and I must say the mousses do feel like a quality bit of kit. Not as
hard as the Pirelli I used last time and very uniformly made.
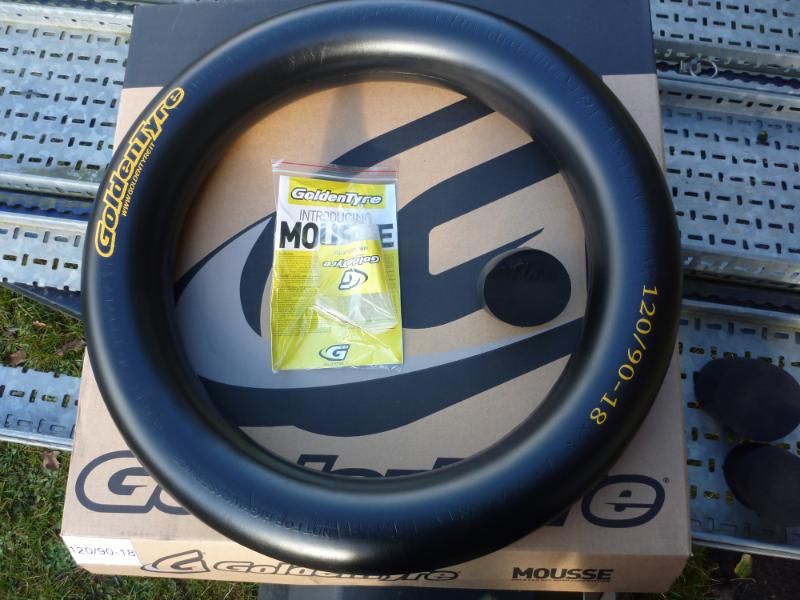
Figure 3.1
What’s in the box – instructions, lube and some off cuts
(to show how they are made?)
EDIT: the off cuts are not for show, they
are there for when the mousse gets worn......
so you can cut it and add them in (extending the life of the mousse)
so says GTyres
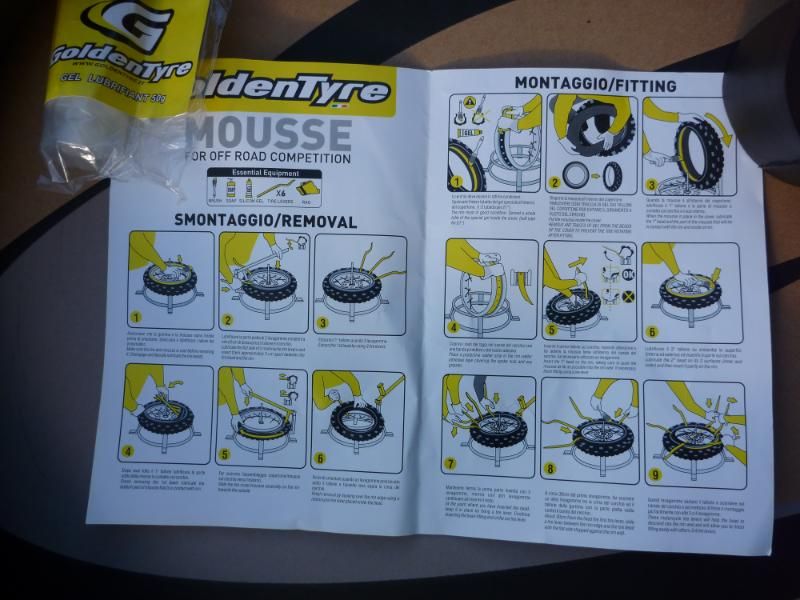
Figure 3.2
A close-up of the instructions
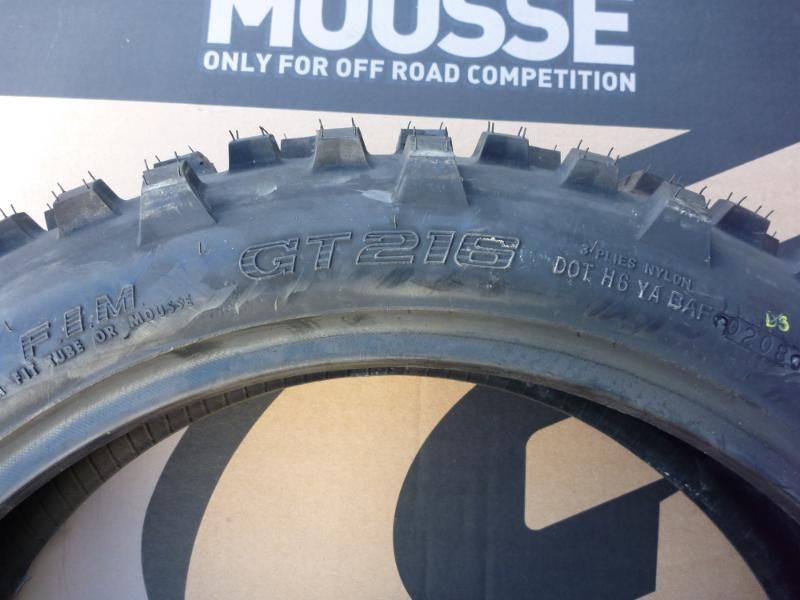
Figure 3.3
The tyre of choice today is the Golden Tyre GT216 which is for soft
going. FIM approved.
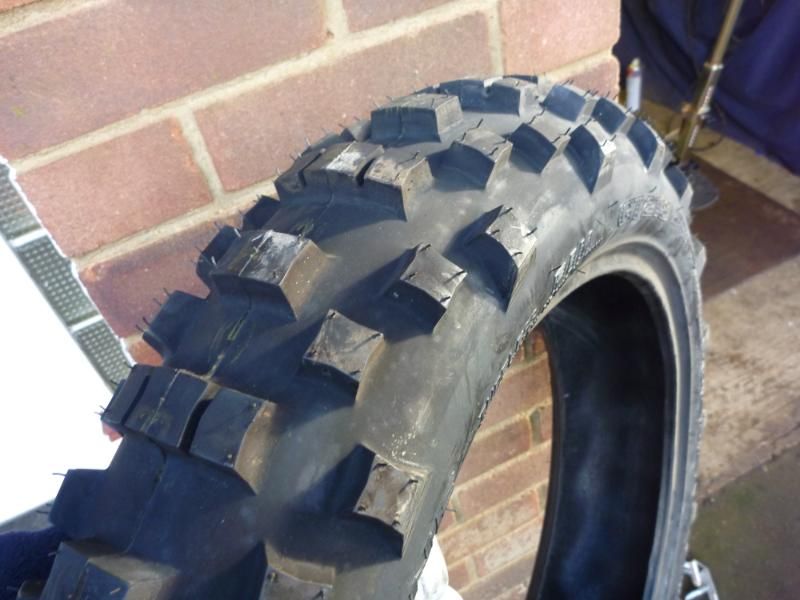
Figure 3.3
Tread pattern.
Fitting The Mousse & Tyre
First of all you need to
cover the whole of the inside of the tyre with lube. I
leave a bit over to cover the mousse as well.
Once the tyres and mousse is fully covered (use all the lube) push it
inside the tyre.
Sorry no photos as it’s a messy job!
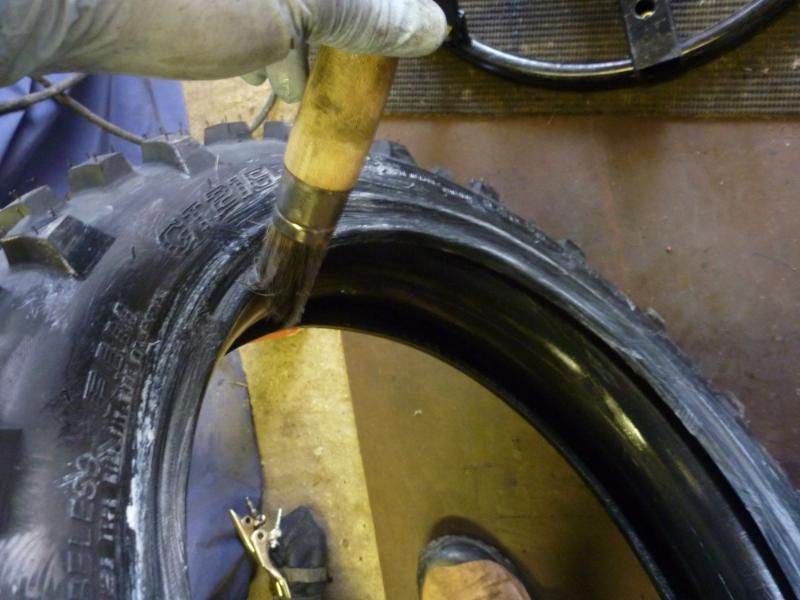
Figure 4.0
Next up is to give the tyre bead a light covering of tyre paste to help
the tyre slip on.
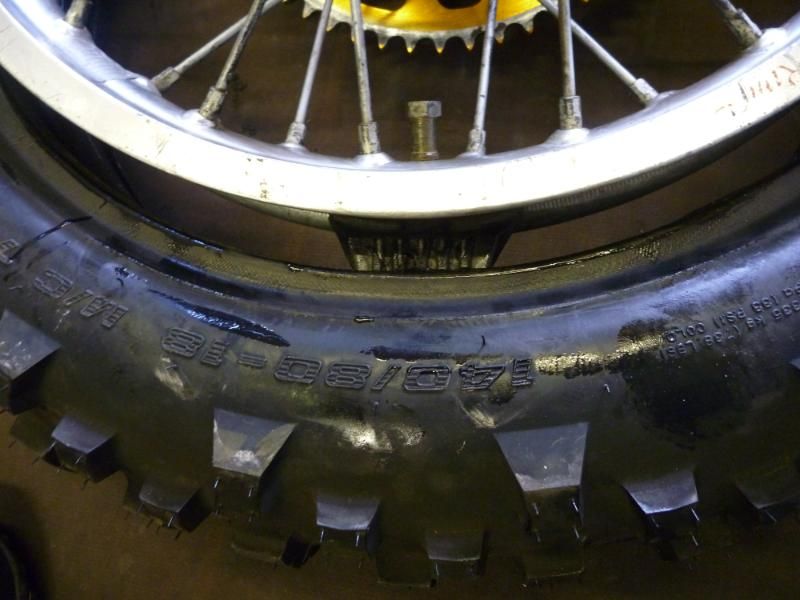
Figure 4.1
Now I tend to leave the rim lock in place (after cleaning) when I fit
mousses. It’s not hard to get the tyre on with them in place but
I find it a bugger to get them in afterwards. Don’t listen to
the ‘don’t fit a rim lock’ lot. The tyre does move
on the rim, so be warned and fit a rim lock.
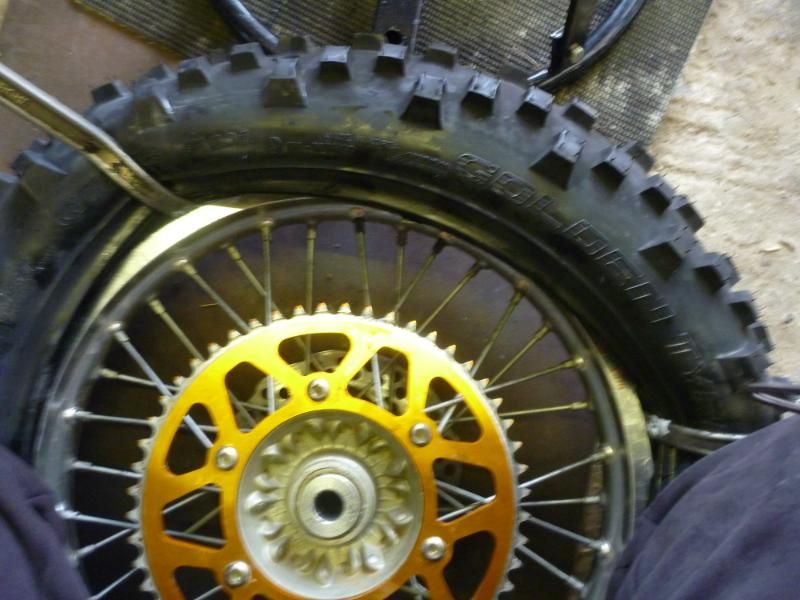
Figure 4.2
Push the tyre into the rim behind the rim lock and while holding it
in place with your knees, using two tyre levers start to lever the bead
over the rim. This can be a bit tricky sometimes and having the pre-warmed
tyre is a bonus now. Once you've got it this far it’ll go on ok.
As you can see I was paying too much attention to the direction of the
tyre and getting the orientation of the wheel correct to notice I’d
made a mistake to start from the sprocket side! Not only does this get
in the way, as it’s bigger than the brake disc, but you can do
without having a saw tooth object close to your hands when levering
tyre levers. Doh!
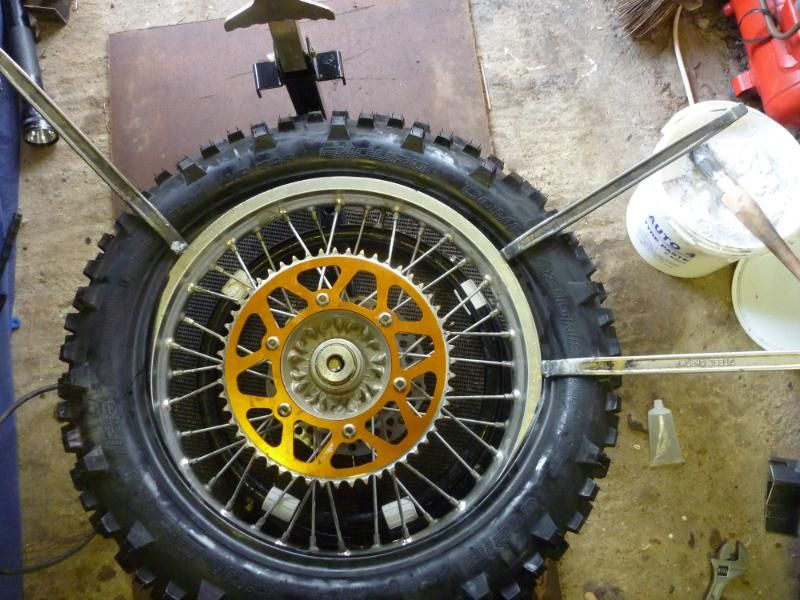
Figure 4.3
Now you can start to lever the second bead over the rim - and then take
it off again as you suddenly realise you’ve not lubbed the tyre!
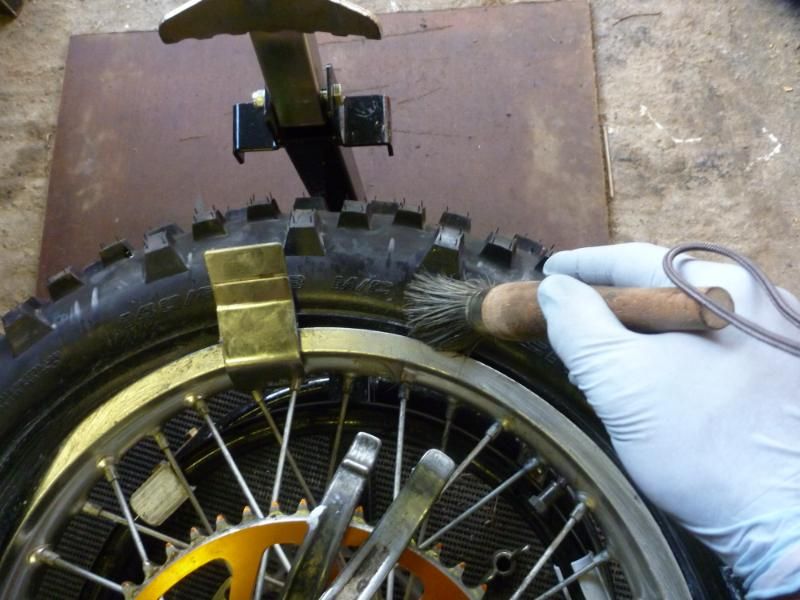
Figure 4.4
Once you’ve got it started fit a ‘bead buddy’ to keep
the tyre in place (it stops the tyre climbing back out the rim).
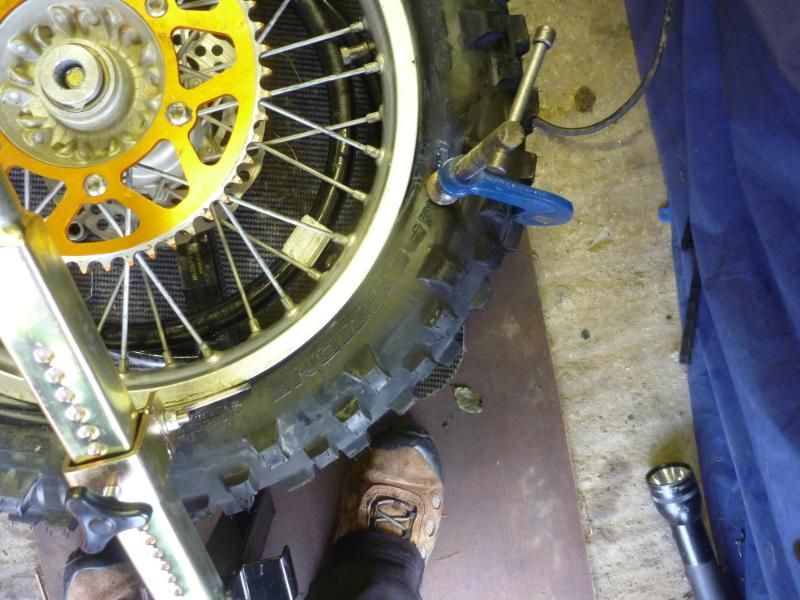
Figure 4.5
Once ¾ of the tyre
is on I use a clamp of some sort to push the tyre down into the rim.
Pushing the tyre down into the rim gives you more slack over the opposite
side of the tyre and this allows you to get the tyre over the rim without
braking it. My ‘quick clamps’ seemed to have made a quick
get away somewhere so I grabbed the g-clamp off the wall and used that.
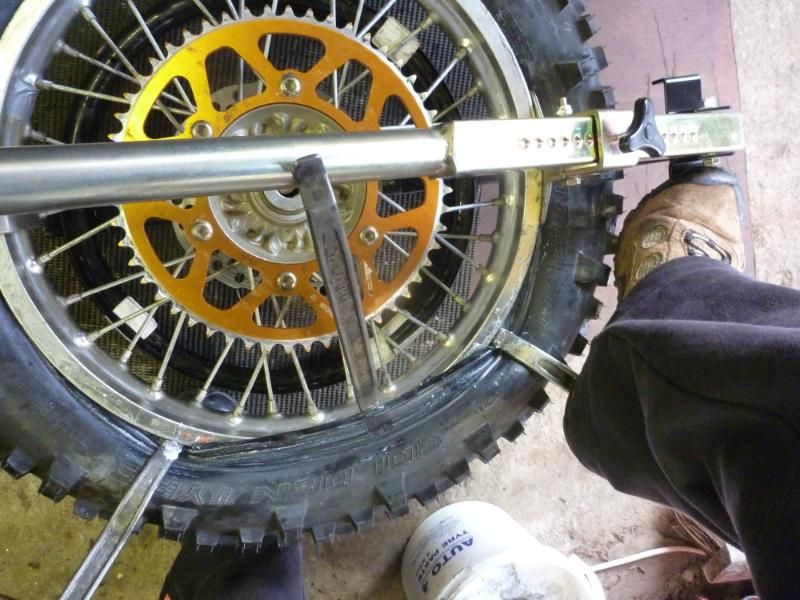
Figure 4.6
So with the clamp in place
and using the bead breaker as well I keep the tyre down in the rim while
I use the lever to slip the tyre over the rim. With the tyre lubbed
and pushed into the rim it’s a piece of cake. I stopped to take
this photo and need to keep a foot on the lever to stop it pinging away.
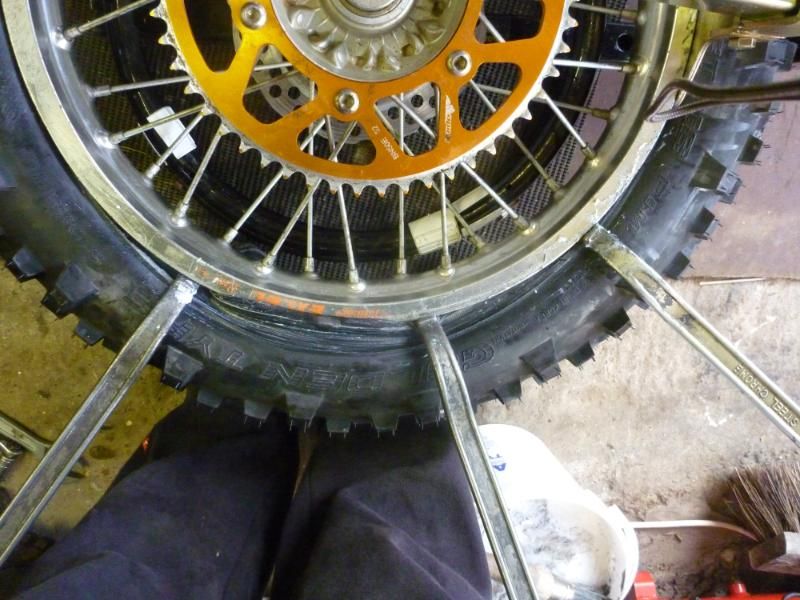
Figure 4.7
Almost there, with the slack and lube there were no “is it going
to snap” moments ........
and I use the bead break to shove the last little bit over the rim.
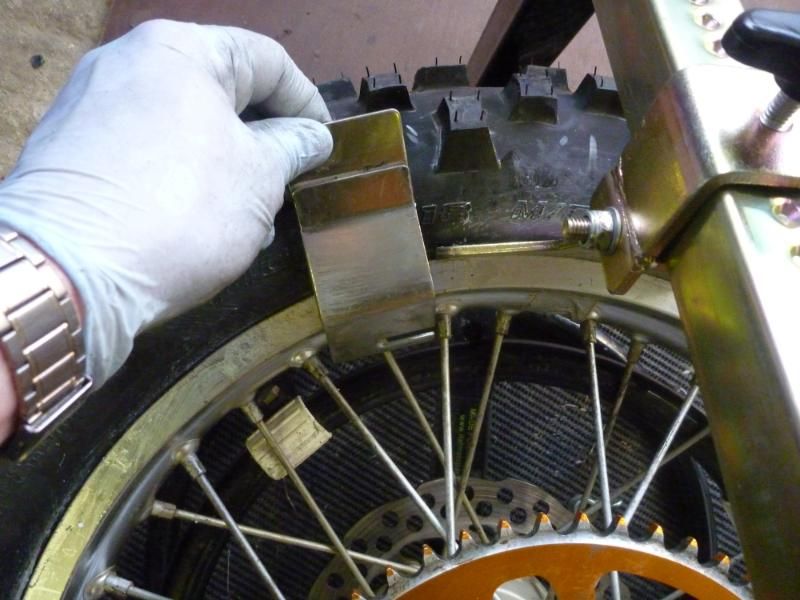
Figure 4.8
I use the breaker to push the tyre off the bead buddy to get it free.
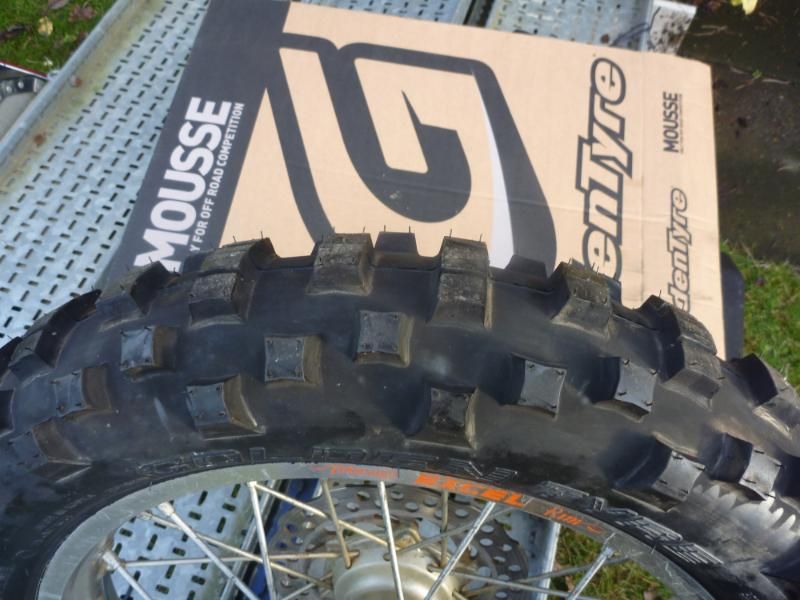
Figure 5.0
All fitted and ready to go…. nope wait....
You still have to tighten
the rimlock. I just nip it up hand tight and take the bike for a quick
run up and down the road to help seat the tyre on the rim. A quick blast
will do it. Don’t worry if it not 100% seated as it’ll soon
pop out once you use it. Now tighten the rimlock good and tight. You
can of course fit a tube valve into the hole where the tube once came
through and then use air to pop it out onto the rim but I’ve never
bothered. Remember to tape up the hole or fit a rubber grommet to keep
the dirt out (i now use car tubeless valves.)
Edit: Since doing this guide
i have fitted 'tubless' car type valves to help pop out the tyres on
the rim. Ask for the smallest size they do..... you'll still have to
drill out the rim somewhat to get them to fit but it's worth the effort.
The tubeless valve seals the air inside a lot better than an old tube
valve. remember to seal the rimlock with a bit of old tube rubber and
the tyre will inflate and pop out onto the rim completely.
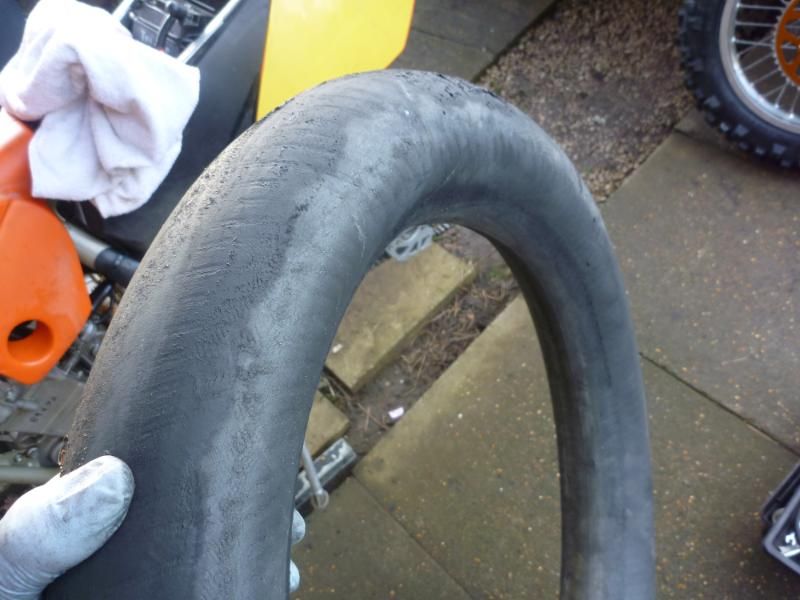
A two year old mousse – not bad eh? Still loads of life left in
that!
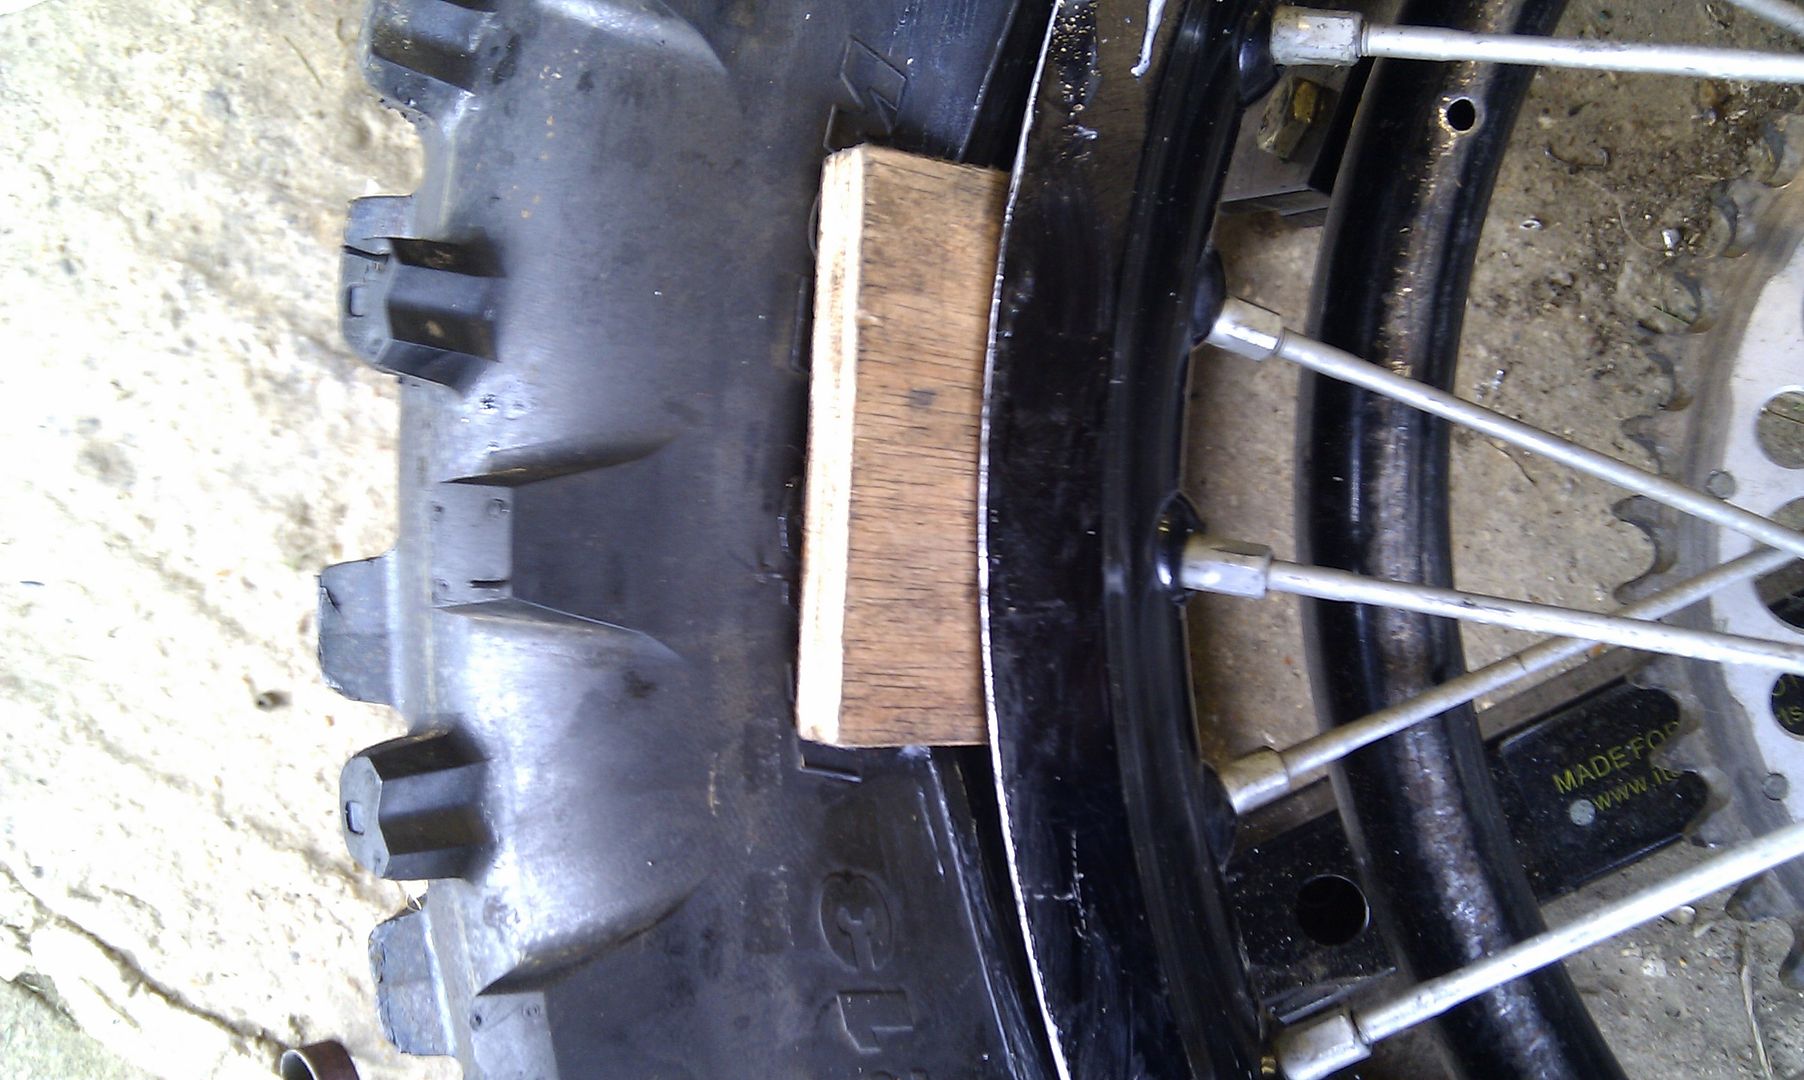
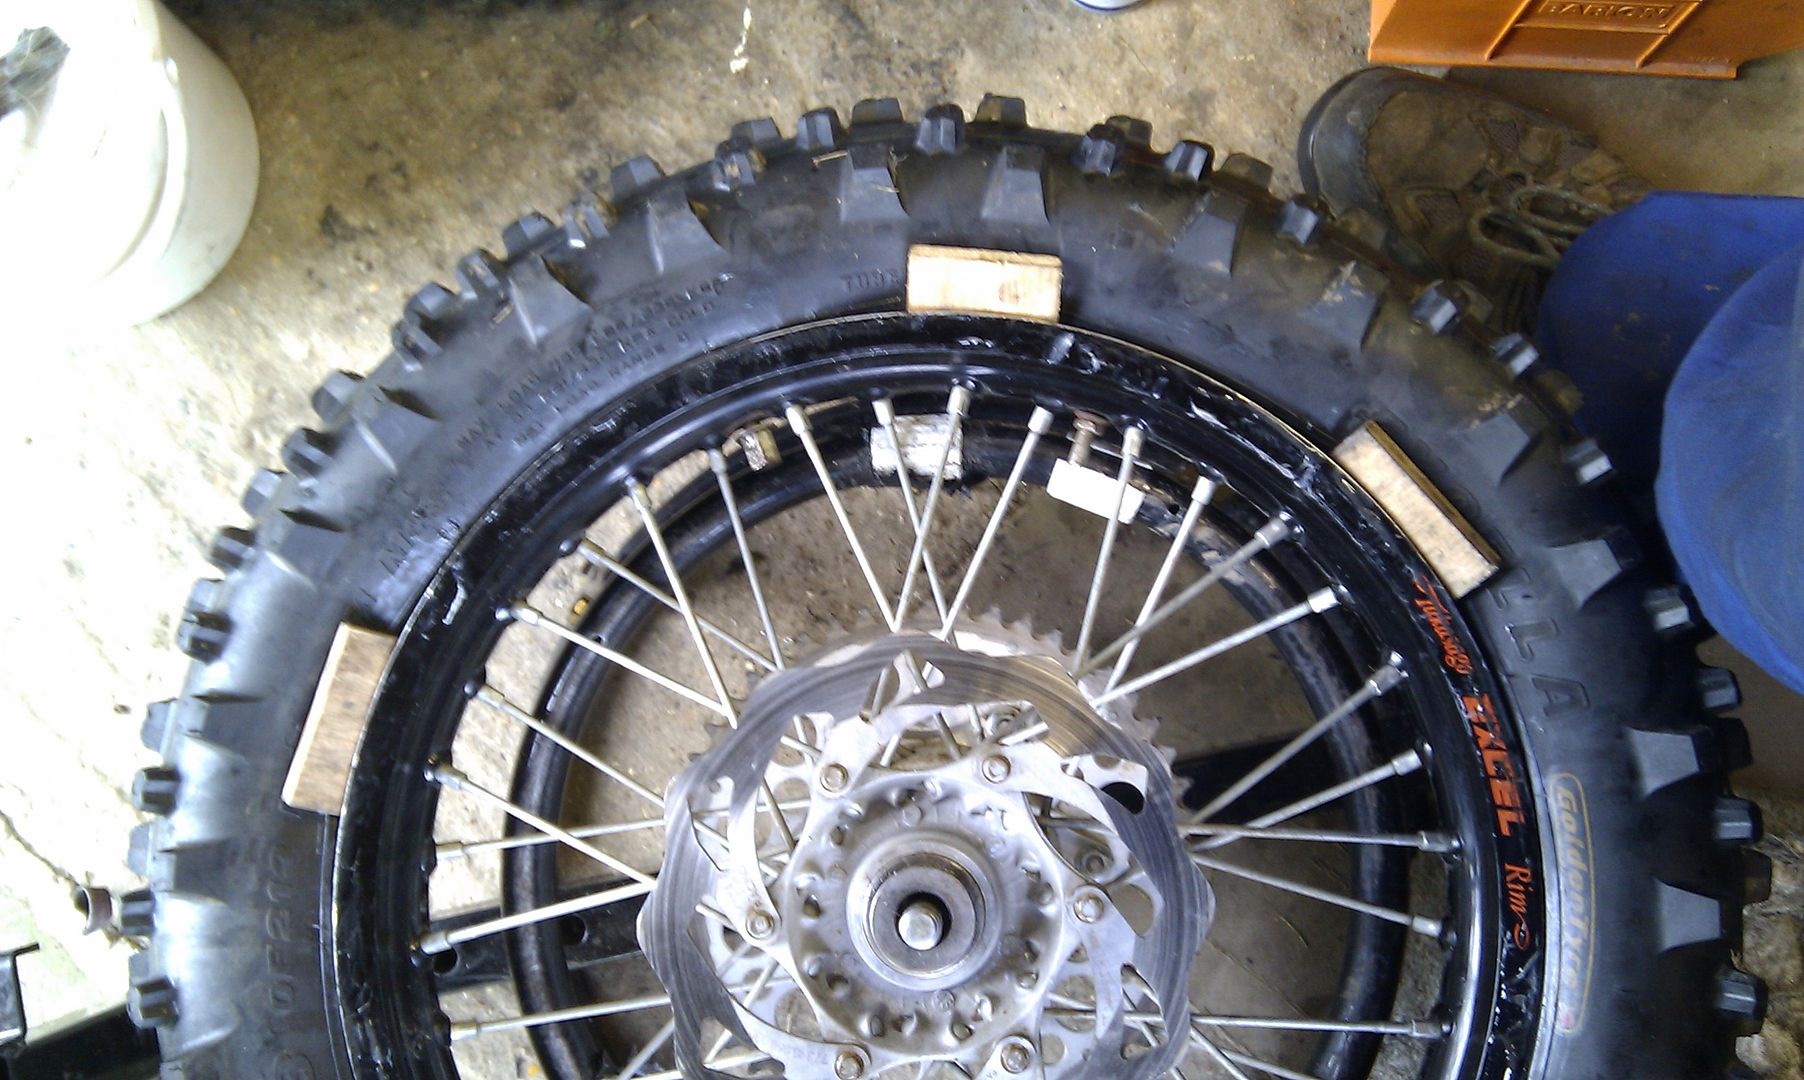
Update:
This trick was
shown to me by a friend. Cut some small little blocks of ply and use
them to hold the tyre down into the rim. This works quite well
on the rear but I've found it to be less successfull on the front.
In time when you have done more and more changes you tend to get the
hang of it and the clamps and/or bits of wood tend to not be used so
much.
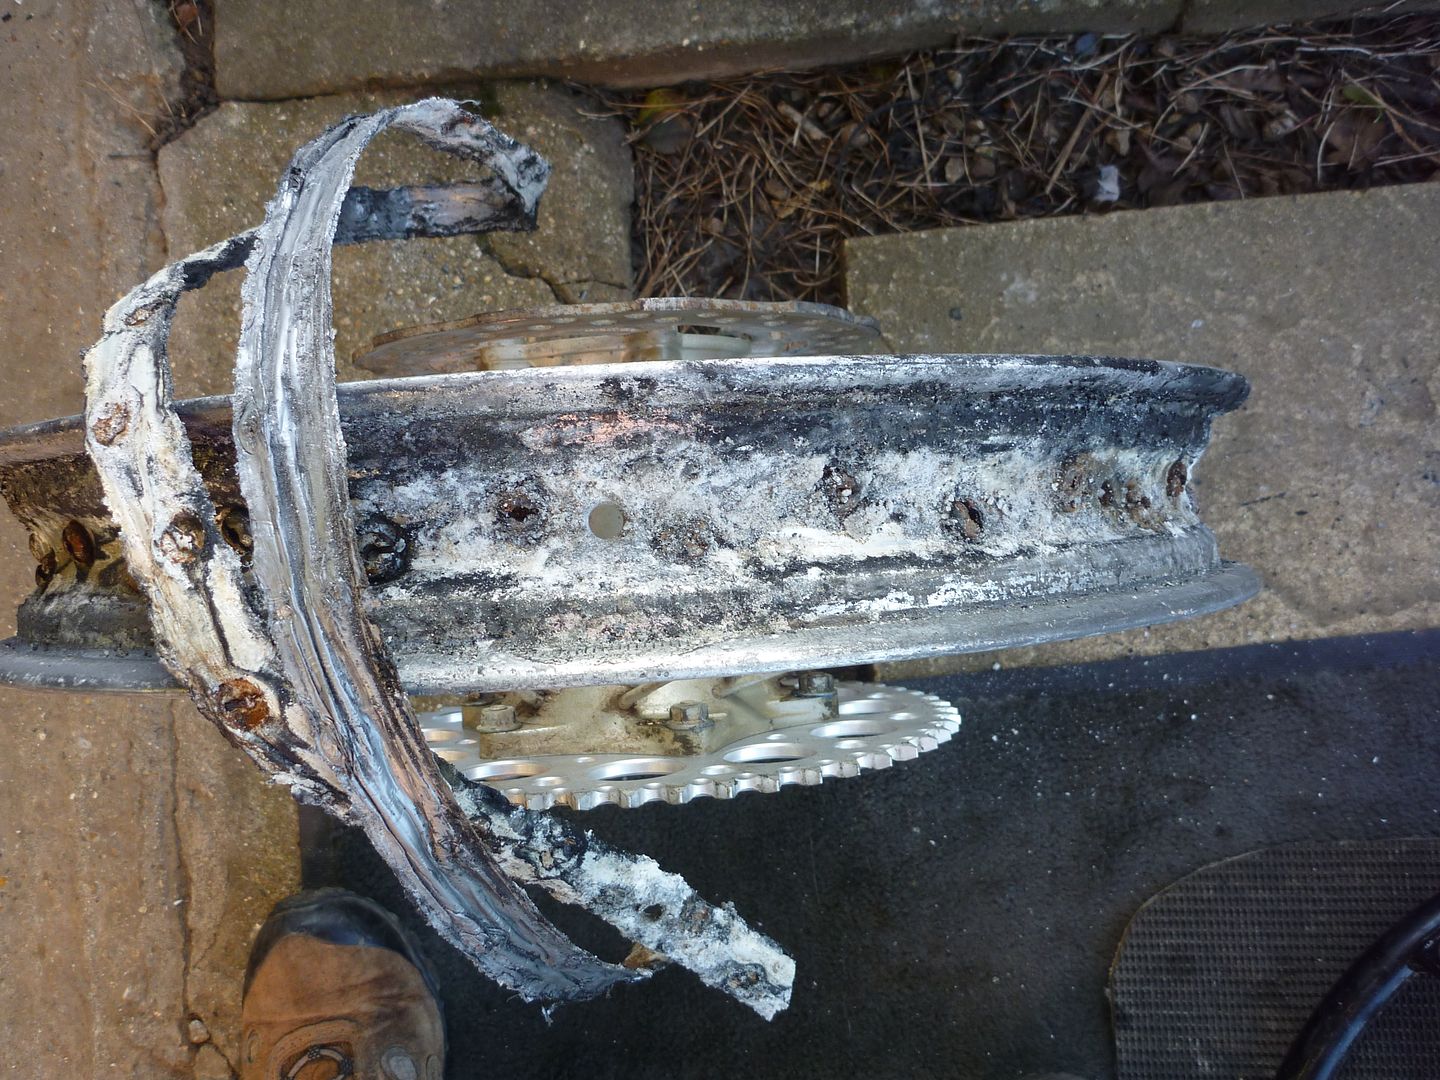
BE WARNED
If you don't clean the rims often enough you end up like this!
This belonged to a friend how doesn't ride much and it was brought
round for a tyre change....
If you enjoyed
this report and would like to be notified of new reports or website
updates then join the mailing list. To sign up to the list just click
HERE and send me an email.
|
.jpg)